Showing posts with label Vegetarian. Show all posts
Friday, June 24, 2011
Garlic and Lime Buttered Tilapia
Tilapia is a great fish...especially for those people who don't like fish, like me! The following is a very simple and fast way to bake tilapia with a slightly limy and buttery flavor. ***Hint...soaking the tilapia filets in plain yougurt, buttermilk, mayo/milk mixture, or milk/lime mixture for at least 4 hours will take away most of the fishy flavor and smell.***
For 3 tilapia filets:
2 1/2 to 3 TBS butter
PLUS
1 tsp salt
1 tsp garlic powder (or 2 freshly minced cloves)
1 tsp chili powder (like paprika or cayenne)
1 TBS fresh lime juice (about 1/2 a lime)
OR
1 TBS salt with lime and chili
1 tsp garlic powder (or 2 freshly minced cloves)
Preheat oven to 350 degrees. Melt the butter in a saucepan over medium low heat. Once melted, add all of the seasonings and stir to mix well...only takes a minute!
When the butter mixture is ready, pour a little into the bottom of a baking dish (I use a casserole dish). Place the tilapia filets in the dish, then pour the rest of the butter mixture over the fish.
Place in the oven and bake for about 15 minutes, until it flakes easily with fork (temp of about 155 degrees).
Serve with a rice or pasta of your choice and green veggies. I served it with onion cream cheese pasta and sauteed spinach with corn.
Easy as that! And you can cook the pasta while the fish bakes (rice may need to be started before you start the fish), and steam or saute veggies, too. Dinner in under 30 minutes:)
Wednesday, June 22, 2011
Squash Blossom Quesadillas
Quesadillas!!! Good for a meal or just a snack. You can make quesadillas with so many different fillings. Most people just know quesadillas as cheese filled tortillas with chicken or beef, but there are so many other things that taste so good with oozy melty cheese and tortillas. One of my favorite additives is spinach, but...tis the season for SQUASH BLOSSOMS!!!
All you need (for 2 to 3 single tortilla quesadillas):
1 bunch squash blossoms -about 15 blossoms-
2 tsp butter
1 pinch salt
2 to 3 tortillas
shredded cheese (mozzarella is best for these)
cooking spray
First thing you need to do is clean the blossoms. Take the stems off the plants...ONLY the stems, not the bulb at the end of the blossom. Once stemmed, place the blossoms in a bowl of water and let them soak for about five minutes.

After the blossoms have soaked and you notice that the water is turning yellowish brown, stick your hands right in there and stir the plants around, "pump" the water, and gently squeeze the plants to try and get as much dirt and debris out of the blossoms. Then take a handful of blossoms and squeeze the water out of them as tightly as you can to get as much water out of them as you can and place them on a clean dry kitchen towel. Repeat until all the blossoms are squeezed. Pat the blossoms dry with the towel.

Now chop the blossoms, bulb and all. Melt the 2 tsp of butter in a nonstick pan and add the chopped blossoms. Sprinkle on the pinch of salt and saute for about 2 to 3 minutes, until the blossoms are wilted and the bulbs are softened slightly.


Turn the heat off when the blossoms are ready and prepare the tortillas. Put some shredded cheese on only half of each tortilla, then top with a couple spoonfuls of the sauteed squash blossoms.

1 bunch squash blossoms -about 15 blossoms-
2 tsp butter
1 pinch salt
2 to 3 tortillas
shredded cheese (mozzarella is best for these)
cooking spray
First thing you need to do is clean the blossoms. Take the stems off the plants...ONLY the stems, not the bulb at the end of the blossom. Once stemmed, place the blossoms in a bowl of water and let them soak for about five minutes.
After the blossoms have soaked and you notice that the water is turning yellowish brown, stick your hands right in there and stir the plants around, "pump" the water, and gently squeeze the plants to try and get as much dirt and debris out of the blossoms. Then take a handful of blossoms and squeeze the water out of them as tightly as you can to get as much water out of them as you can and place them on a clean dry kitchen towel. Repeat until all the blossoms are squeezed. Pat the blossoms dry with the towel.
Now chop the blossoms, bulb and all. Melt the 2 tsp of butter in a nonstick pan and add the chopped blossoms. Sprinkle on the pinch of salt and saute for about 2 to 3 minutes, until the blossoms are wilted and the bulbs are softened slightly.
Turn the heat off when the blossoms are ready and prepare the tortillas. Put some shredded cheese on only half of each tortilla, then top with a couple spoonfuls of the sauteed squash blossoms.
Fold the tortillas in half and spray a flat top grill or nonstick pan with cooking spray and set over medium low heat. Once heated, place the filled tortillas on the flat top, or in the skillet, and let it cook for a couple minutes, until the tortilla is golden and slightly crispy, then flip the tortillas to cook on the other side for a couple minutes.
Once ready, you can eat them whole or cut them in half. Serve with whatever you normally like quesadillas with. Guacamole, sour cream, pico de gallo, lettuce, salsa, etc. I like mine with chopped lettuce, sour cream, and pickled jalapenos! YUM YUM YUM:) Enjoy!
Saturday, June 11, 2011
Spicy Vegetable Soup
I love this soup! You can, of course, add some meat to it if you like, but I am happy with no meat (as usual). This is super simple and only for those who really like fire when they eat!
For approximately one serving (adjust according to desired amount):
2 cups water
1/4 cup small noodle pasta (soup pasta)
1 cup chopped mixed vegetables (you can use frozen or fresh)
2 tsp powdered chicken stalk
2 TBS Valentina hot sauce (or similar...not Tabasco type)
juice from 1 lime :)
Start by heating the water over medium high heat with the chicken stalk, hot sauce, and lime juice. As the water begins to boil, add the pasta and vegetables and bring back to a boil. Cook for about 10 minutes, or until pasta is cooked. That's it! You can serve it with croutons (flavored or plain), crackers, toast, or baguette bread.
I also like taking only half the soup (storing the rest) and eating it with a grilled cheese sandwich or with tostadas that have melted cheese on them! Also, if you want a less "liquidy" soup, reduce the water amount and tone down the hot sauce a little. Sometimes I will use only 1 cup of water and 1 1/2 TBS hot sauce (I like spice!) and then I get something that is more like a watery pasta than a traditional soup.
Any way you like it, this soup is filling and low in sodium and carbs!!!
Thursday, June 9, 2011
Ancho Chili Blackened Tilapia
...with a homemade chipotle remoulade. OMG!!! This recipe has just a little spice to it, and can turn any non-eating individual into a fish eating machine. At the end of the post, too, will be a couple extra points that should be considered before cooking:)
1/2 tsp ancho chili powder (I make my own...see end of post)
1/2 tsp salt
1/2 tsp chili powder (ex. cayenne pepper)
1/2 tsp garlic powder
1/2 tsp dried crushed oregano
optional 1/4 tsp cumin
2 to 4 Tilapia fillets
1/4 cup mayonnaise
1 tsp fresh lime juice
1/4 tsp dried crushed oregano
*Preheat oven to 400 degrees
In a small bowl mix together all the ingredients for the remoulade until smooth and well combined. Cover and place in the refrigerator until ready to serve.
In a small bowl mix together all the ingredients for the ancho chili rub. Make sure the fish fillets are rinsed and patted dry, then, one side at a time, spray with non-stick cooking spray and sprinkle the ancho chili rub all over the fillet. Make sure that both sides of the fish are sprayed and have an even coating of the rub all over. Place the fillets on a non-stick skillet that has been sprayed with non-stick cooking spray. You can cover the skillet with foil to make for an easier cleanup, but be sure to spray the foil like you would the skillet itself.
Loosely cover and cook for 8 to 10 minutes...until the fish flakes easily with a fork (temp about 160). Once the fish is cooked, serve with a TBS or two of the chipotle remoulade and whatever vegetable and/or starch you like. I always serve it with broccoli or zucchini and rice. And I always put the remoulade right in between the fish and the rice so I can eat it with both!
A couple extra points...
1) I make my own ancho chili powder. To do so is very simple. Take dried ancho chilis and take the stems off and seeds out and open so they can lay as flat as possible on a cookie sheet. Lie them on a cookie sheet in a single layer and toast in a 350 degree oven for 8 to 10 minutes (for about 8 peppers). Be sure not to burn the peppers. Once toasted, break into smaller pieces and place in a blender or food processor and blend until powdered.
2) If you don't want as much of a "fishy" flavor to fish, you can soak it for AT LEAST a couple hours before cooking. Soak the fillets in buttermilk, plain unflavored yogurt, milk/mayo mixture, or milk/sour cream mixture. These soaking ingredients will absorb a lot of the fishy flavor and allow for less fish "stench."
For the ancho chili rub (for 2 to 4 Tilapia filets):
1/2 tsp salt
1/2 tsp chili powder (ex. cayenne pepper)
1/2 tsp garlic powder
1/2 tsp dried crushed oregano
optional 1/4 tsp cumin
2 to 4 Tilapia fillets
For chipotle remoulade:
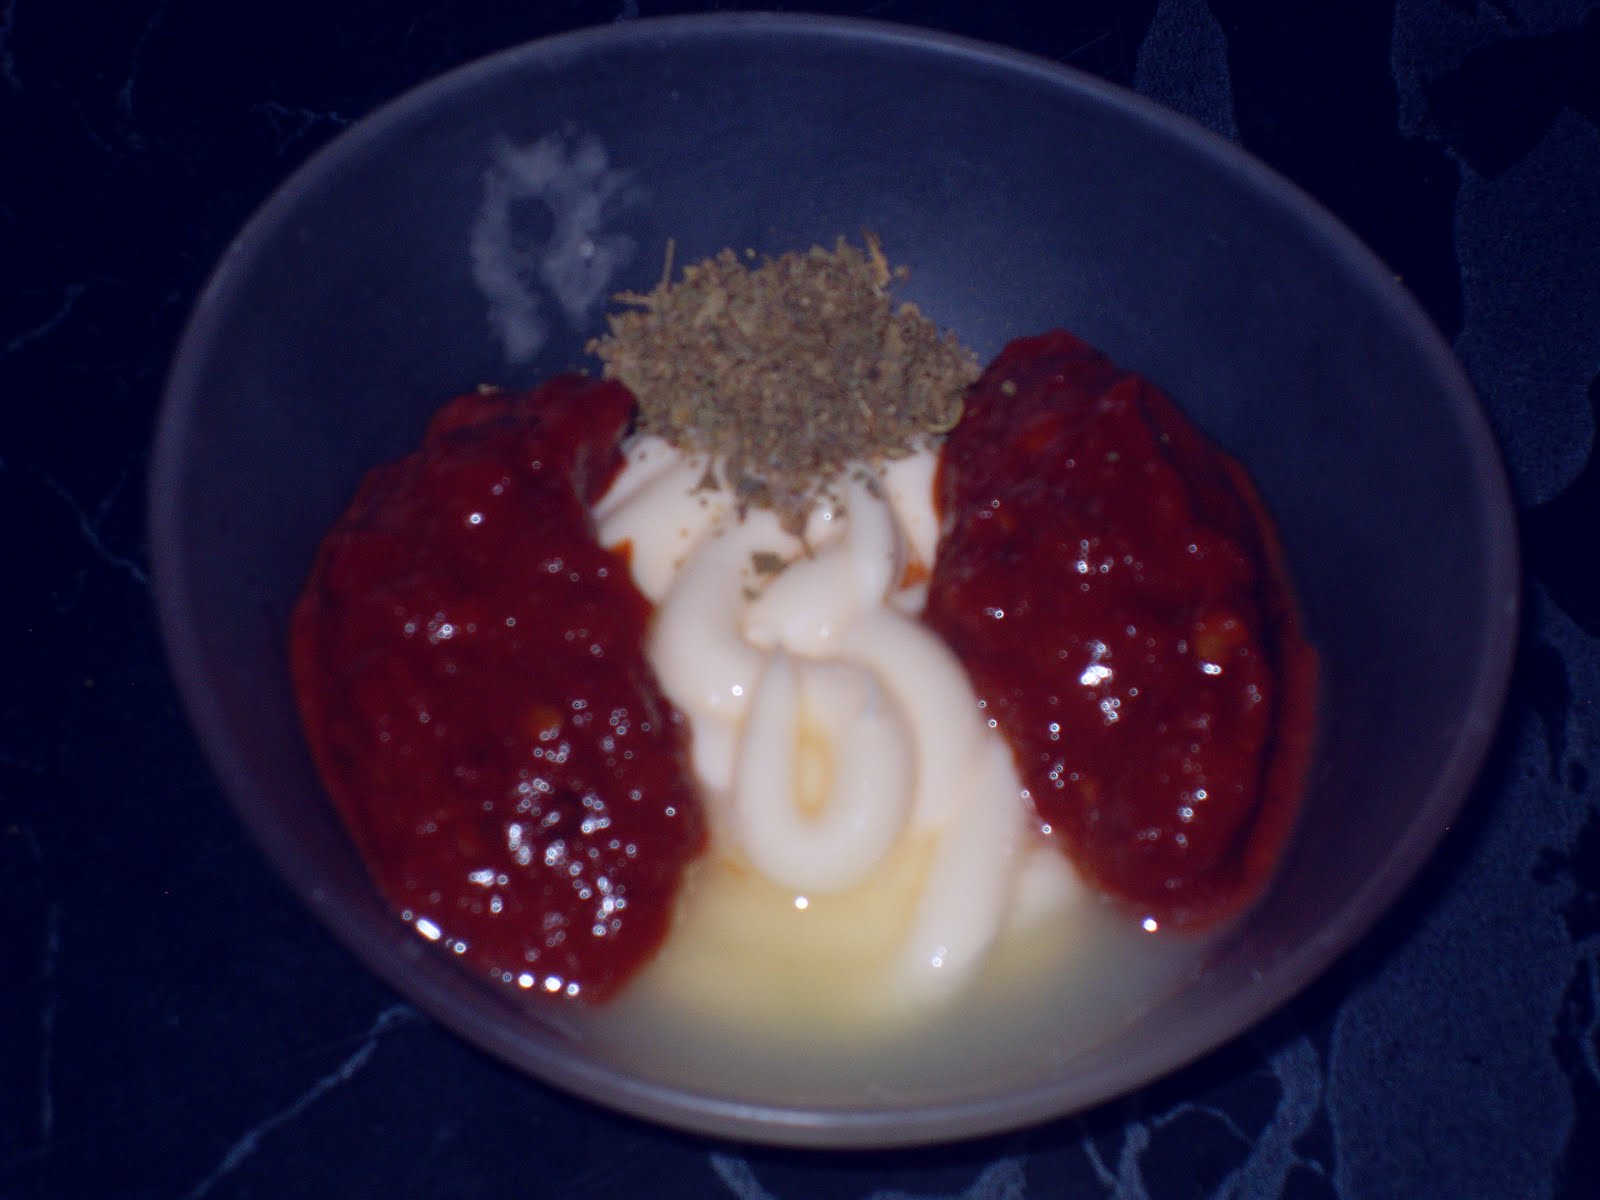
2 TBS pureed chipotles (canned with the adobo sauce)1/4 cup mayonnaise
1 tsp fresh lime juice
1/4 tsp dried crushed oregano
*Preheat oven to 400 degrees
In a small bowl mix together all the ingredients for the remoulade until smooth and well combined. Cover and place in the refrigerator until ready to serve.
In a small bowl mix together all the ingredients for the ancho chili rub. Make sure the fish fillets are rinsed and patted dry, then, one side at a time, spray with non-stick cooking spray and sprinkle the ancho chili rub all over the fillet. Make sure that both sides of the fish are sprayed and have an even coating of the rub all over. Place the fillets on a non-stick skillet that has been sprayed with non-stick cooking spray. You can cover the skillet with foil to make for an easier cleanup, but be sure to spray the foil like you would the skillet itself.
Loosely cover and cook for 8 to 10 minutes...until the fish flakes easily with a fork (temp about 160). Once the fish is cooked, serve with a TBS or two of the chipotle remoulade and whatever vegetable and/or starch you like. I always serve it with broccoli or zucchini and rice. And I always put the remoulade right in between the fish and the rice so I can eat it with both!
A couple extra points...
1) I make my own ancho chili powder. To do so is very simple. Take dried ancho chilis and take the stems off and seeds out and open so they can lay as flat as possible on a cookie sheet. Lie them on a cookie sheet in a single layer and toast in a 350 degree oven for 8 to 10 minutes (for about 8 peppers). Be sure not to burn the peppers. Once toasted, break into smaller pieces and place in a blender or food processor and blend until powdered.
2) If you don't want as much of a "fishy" flavor to fish, you can soak it for AT LEAST a couple hours before cooking. Soak the fillets in buttermilk, plain unflavored yogurt, milk/mayo mixture, or milk/sour cream mixture. These soaking ingredients will absorb a lot of the fishy flavor and allow for less fish "stench."
Tuesday, June 7, 2011
Happy Clown!
The title for this post comes with special meaning. A lot of my guilty pleasure snacks have spicy chili powder on or in them and, because I usually use so much of the chili powder (usually the spiciest available), my lips get puffy and red! So worth it, though. I haven't posted in a couple days, partially because I haven't cooked in the past two days, and partially because I haven't had much spare time. I have a few extra minutes before heading off to bed to read some for an online class I am taking, so I thought I would post a little ditty about some of my guilty pleasures:)
1) Garbanzo beans! Roasted in the shell garbanzo beans (chickpeas) with freshly squeezed lime juice and chili powder.
2) Grilled corn on the cob, also with lime juice and chili powder.
3) Steamed corn on the cob smeared with mayo, chili powder, and sprinkled with fresh parmesan.
4) Fresh baked, thin cut potato chips with Valentina hot sauce and a little salt.
5) Baked tostadas with melted mozzarella on top and Valentina hot sauce.
6) Homemade pretzel bark. Melted dark chocolate mixed with crushed salted pretzels, then poured onto a flat surface and cooled to form "bark."
7) Fresh popped buttered popcorn with chili powder sprinkled all over.
8) Sliced jicama and cucumbers with lime juice and chili powder and just a little salt.
I try to eat well as much as possible, but every now and then, it feels so good to give into indulgence!
Saturday, June 4, 2011
Sauteed Tofu. In A Baby Diaper???
Tofu is such a wonderful thing. Scrambled, baked, stir fried, sauteed...dressings, smoothies, and dips. So many flavors!!! The following is probably how I make it most of the time.
You will need:
1 TBS worcestershire
2 TBS reduced sodium soy sauce
1 TBS garlic powder
1 TBS onion powder
2 tsp soy oil
1 tsp black pepper (more or less as desired)
12.3 oz package extra firm tofu in water (firm is okay for this as well)
*nonstick frying pan
*cloth baby diaper (if you don't have a cloth baby diaper, you can use 1 or 2 thick dish cloths)
First thing you need to do is get as much water out of the tofu as you can. Open the package and drain the water, then take the brick of tofu out, being careful not to break it. Take the brick of tofu and lay it in the middle part of the baby diaper (or on a tri-folded dish towel), then wrap the diaper around the tofu using the middle of the diaper, as that is the part that soaks up the liquid the best. If using a dish towel, wrap like you would with diaper, or lay a second folded towel on top.

Once wrapped, you need to put a fairly heavy (about 1 1/2 to 2 lbs) pot or pan on top of the wrapped tofu brick...make sure it is right in the middle to evenly press the water out of the brick. Cast iron pans work well. I use my removable flat top/grill. You could also use a thick book, or anything else you have, if you do not have a heavy pot or pan! Let that sit and press the water out for a couple of hours:)
While the tofu is "draining," you can prepare the marinade. Put the six liquid and powdered ingredients in a sandwich size ziplock back, zip, then mix well. Set it in the refrigerator until the tofu has been drained. After a couple of hours, unwrap the tofu and get your bag of marinade. Carefully put the brick of tofu in the ziplock bag with the marinade. Turn the bag carefully several times and use your fingers on the outside of the bag to fully coat the brick. Set the bag in the refrigerator for another few hours so that the tofu can soak up the marinade.

After the tofu is finished marinating, take it out of the bag and carefully slice into "bite-sized" pieces. When cut, put the tofu into a nonstick pan over medium heat and cook for about 3 minutes...carefully "flip" the tofu in the pan either with a spatula or with the wrist flip technique (which I prefer!)...cook for about 3 minutes...flip...repeat. You can stir the tofu softly while cooking if you want, but I prefer to get a little "crisp" on the outside of the tofu pieces. Overall, you will need to cook the tofu for about 10 minutes. Once finished, serve with whatever sides you wish. This amount of tofu will be enough for 2 to 3 meals, depending on how much you want to eat at a time:) I usually eat it with steamed mixed veggies and plain pasta or steamed rice. Once cooled, the tofu is great on top of salads or in a sandwich, too.
You will need:
1 TBS worcestershire
1 TBS garlic powder
1 TBS onion powder
2 tsp soy oil
1 tsp black pepper (more or less as desired)
12.3 oz package extra firm tofu in water (firm is okay for this as well)
*nonstick frying pan
*cloth baby diaper (if you don't have a cloth baby diaper, you can use 1 or 2 thick dish cloths)
First thing you need to do is get as much water out of the tofu as you can. Open the package and drain the water, then take the brick of tofu out, being careful not to break it. Take the brick of tofu and lay it in the middle part of the baby diaper (or on a tri-folded dish towel), then wrap the diaper around the tofu using the middle of the diaper, as that is the part that soaks up the liquid the best. If using a dish towel, wrap like you would with diaper, or lay a second folded towel on top.
Once wrapped, you need to put a fairly heavy (about 1 1/2 to 2 lbs) pot or pan on top of the wrapped tofu brick...make sure it is right in the middle to evenly press the water out of the brick. Cast iron pans work well. I use my removable flat top/grill. You could also use a thick book, or anything else you have, if you do not have a heavy pot or pan! Let that sit and press the water out for a couple of hours:)
While the tofu is "draining," you can prepare the marinade. Put the six liquid and powdered ingredients in a sandwich size ziplock back, zip, then mix well. Set it in the refrigerator until the tofu has been drained. After a couple of hours, unwrap the tofu and get your bag of marinade. Carefully put the brick of tofu in the ziplock bag with the marinade. Turn the bag carefully several times and use your fingers on the outside of the bag to fully coat the brick. Set the bag in the refrigerator for another few hours so that the tofu can soak up the marinade.
After the tofu is finished marinating, take it out of the bag and carefully slice into "bite-sized" pieces. When cut, put the tofu into a nonstick pan over medium heat and cook for about 3 minutes...carefully "flip" the tofu in the pan either with a spatula or with the wrist flip technique (which I prefer!)...cook for about 3 minutes...flip...repeat. You can stir the tofu softly while cooking if you want, but I prefer to get a little "crisp" on the outside of the tofu pieces. Overall, you will need to cook the tofu for about 10 minutes. Once finished, serve with whatever sides you wish. This amount of tofu will be enough for 2 to 3 meals, depending on how much you want to eat at a time:) I usually eat it with steamed mixed veggies and plain pasta or steamed rice. Once cooled, the tofu is great on top of salads or in a sandwich, too.
Thursday, June 2, 2011
Spinach And Egg Burritos. A Breakfast for Popeye ;)
I said it before...I love breakfast, especially eggs. I also really enjoy spinach! I make spinach with egg burritos at least a couple times a week, sometimes more:) Benjamin loves them, too, and will steal mine if I don't make him any! This is the most simple recipe, but is so good. Good tasting and great start to your day. Protein, vegetable, dairy, and carb. I always have it with a side of fruit so that it is a "complete" meal.
All you need is:

2 eggs (1 yolk, two whites)
1 cup chopped fresh spinach
shredded mozzarella (I use about 2oz, but it's up to you!)
2 tsp butter
1/4 tsp chili powder
Pinch of salt
2 to 3 tortillas of choice (I use lite flour or wheat)

Scramble the 2 egg whites and 1 yolk in a larger sized cereal bowl with the chili powder and pinch of salt. Once that is mixed, add the cheese and cup of spinach and fold everything together until well combined.
Once combined, add the butter to a nonstick pan over medium heat and allow it to melt, then pour spinach and egg mixture into pan and cook, stirring constantly, for about 4 or 5 minutes, or until eggs are done and cheese has fully melted. When the eggs are ready, heat your tortillas in the microwave or in a pan on the stove top (I have a flat top grill on my stove, so I use that). If heating in the microwave, it only needs to be for 15 to 20 seconds. If on the stove top, heat for about a minute on each side over medium-low heat. Now spoon the spinach and egg mixture evenly between the tortillas and roll like a burrito! Serve with fruit like berries or cantaloupe and ENJOY!!!
All you need is:
2 eggs (1 yolk, two whites)
1 cup chopped fresh spinach
shredded mozzarella (I use about 2oz, but it's up to you!)
2 tsp butter
1/4 tsp chili powder
Pinch of salt
2 to 3 tortillas of choice (I use lite flour or wheat)
Scramble the 2 egg whites and 1 yolk in a larger sized cereal bowl with the chili powder and pinch of salt. Once that is mixed, add the cheese and cup of spinach and fold everything together until well combined.
Once combined, add the butter to a nonstick pan over medium heat and allow it to melt, then pour spinach and egg mixture into pan and cook, stirring constantly, for about 4 or 5 minutes, or until eggs are done and cheese has fully melted. When the eggs are ready, heat your tortillas in the microwave or in a pan on the stove top (I have a flat top grill on my stove, so I use that). If heating in the microwave, it only needs to be for 15 to 20 seconds. If on the stove top, heat for about a minute on each side over medium-low heat. Now spoon the spinach and egg mixture evenly between the tortillas and roll like a burrito! Serve with fruit like berries or cantaloupe and ENJOY!!!
Tuesday, May 31, 2011
Carrot And Zucchini Vegetable Muffins The Kids (and parents) Will Love!
Zucchini and carrot muffins. WHAT? Some people think that vegetables and sweets don't go together...personally, my favorite cake of all time is carrot cake. I even had carrot cake as my wedding cake! My son loves it, too, and even stole my last piece out of the refrigerator and ate it before I knew what he was doing:) He is the reason I started making these vegetable muffins when he was only a year old (a little over 2 years ago). It has never been a struggle to get him to eat his vegetable, but I wanted to try and get more creative in the way they were served to him. Sometimes we have zucchini or chayote "pancakes." Sometimes it's pea and corn stuffed spinach wraps. My favorite, though, are these muffins.
One of the things I love about these muffins is...THEY ARE ONLY 150 CALORIES EACH!!! There is only 1/4 cup of sugar in the entire recipe, which means only 1 tsp per muffin. They get extra sweetness from the vegetables...especially the carrots. While they were in the oven today, baking to golden perfection, my son sat in front of the oven waiting for them to finish so he could have one. They are THAT good.
You will need:
1/3 cup skim milk
1/4 cup vegetable oil (or apple sauce)
1 egg lightly beaten
1 tsp vanilla
2 cups flour (I always use wheat flour)
1/4 cup brown sugar
1 TBS baking powder
1 tsp cinnamon
1/8 tsp nutmeg
3/4 tsp salt
1 1/4 cup shredded carrots
1 1/4 cup shredded zucchini
Preheat your oven to 425 degrees...
In a small bowl, combine egg, milk, oil, and vanilla. Whisk together until well combined but not frothy. In a medium bowl, combine all the dry ingredients (flour through salt in above list) and mix well.
Once the dry ingredients are combined, fold in the vegetables, making sure to coat well with the flour mixture.

Once all the vegetables are coated, pour the milk mixture in all at once and stir to combine. The mixture will be very thick, but that is how it's supposed to be! When everything is all combined, line muffin tins with muffin liners, or lightly spray with cooking spray then sprinkle with flour so the batter doesn't stick and/or burn. Spoon the batter into the muffin tins until almost full.
Bake at 425 degrees for 20 to 25 minutes (until an inserted toothpick comes out clean).
Once the muffins are finished baking and are a golden brown, remove the muffin tin from the oven and allow the muffins to cool for just a few minutes. After a few minutes, remove the muffins from the tin and transfer them to a wire rack to cool completely.
As I mentioned before, these muffins are not really sweet, but have an incredible flavor to them. If you would like a little more sweetness to them you can sprinkle some sugar on the tops right before baking. My favorite way to sweeten them up a bit, though, is to add a little bit of honey to one right before I eat it...on top or sliced and smeared in the middle:)
One of the things I love about these muffins is...THEY ARE ONLY 150 CALORIES EACH!!! There is only 1/4 cup of sugar in the entire recipe, which means only 1 tsp per muffin. They get extra sweetness from the vegetables...especially the carrots. While they were in the oven today, baking to golden perfection, my son sat in front of the oven waiting for them to finish so he could have one. They are THAT good.
You will need:
1/3 cup skim milk
1/4 cup vegetable oil (or apple sauce)
1 egg lightly beaten
1 tsp vanilla
2 cups flour (I always use wheat flour)
1/4 cup brown sugar
1 TBS baking powder
1 tsp cinnamon
1/8 tsp nutmeg
3/4 tsp salt
1 1/4 cup shredded carrots
1 1/4 cup shredded zucchini
Preheat your oven to 425 degrees...
In a small bowl, combine egg, milk, oil, and vanilla. Whisk together until well combined but not frothy. In a medium bowl, combine all the dry ingredients (flour through salt in above list) and mix well.
Once the dry ingredients are combined, fold in the vegetables, making sure to coat well with the flour mixture.
Bake at 425 degrees for 20 to 25 minutes (until an inserted toothpick comes out clean).
Once the muffins are finished baking and are a golden brown, remove the muffin tin from the oven and allow the muffins to cool for just a few minutes. After a few minutes, remove the muffins from the tin and transfer them to a wire rack to cool completely.
As I mentioned before, these muffins are not really sweet, but have an incredible flavor to them. If you would like a little more sweetness to them you can sprinkle some sugar on the tops right before baking. My favorite way to sweeten them up a bit, though, is to add a little bit of honey to one right before I eat it...on top or sliced and smeared in the middle:)
Sunday, May 29, 2011
Eggsplosion!!!
I loooove me some good breakfast food. Especially a good egg meal! I have eggs for breakfast at least 5 times a week. Most of the time it is just egg whites...or 1 yolk and 2 whites...so my cholesterol doesn't get out of control. There are some recipes, though, that just require the whole of both eggs:) This is one of them. And this recipe has one of my other favorite foods...CHEESE. Glorious, gooey, flavorful, sent from the gods CHEESE!
I give you:
2 pieces of sandwich bread (I only use wheat or multigrain, but any kind is fine)
2 eggs
1 1/2 TBS butter or margarine
3 oz shredded cheese (or 3 slices of cheese)
Salt for seasoning
Chili powder (optional, but I always use it)
Large mouthed shot glass or small jar lid
Spatula (the thinner, the better. A cookie spatula works best)
Flat top grill (which is what I use), nonstick pan, or cast iron pan
1) Start by heating your pan or flat top on low-medium heat for about 3 or 4 minutes.
2) While that is heating up, you can cut the centers out of each piece of bread with your "circle" of choice.
3) When the centers are cut out and your pan/flat top is heated, put 1 TBL of butter in it to melt, then add the slices of bread...and the cutouts for a special little treat:)
4) Let the bread get to a very light golden brown on the bottoms, then crack an egg in the center of each slice, then season with salt (and chili powder if desired!).
5) Let the egg cook just enough that you can easily pick up the slice of bread with your thin spatula without the egg falling out of the bottom. This will take about a minute and a half to two minutes depending on the heat.
6) Once ready, very carefully flip the slices of bread over (including the little circle cutouts) being careful not to let the egg yolk fall too out of place!
7) Add the cheese to the top of all the bread. If using slices, add 1 slice to each slice of bread and half of the third slice to each circle cutout. If using shredded, 1 oz per slice of bread, and a half oz per cutout.
8) Once the bread has browned slightly and the egg is just barely cooked enough that you can slide the spatula under it (about two minutes at the most), put one slice of bread on top of the other, cheese sides together (and don't forget those cutouts). Cook the sandwich for a minute or two, then flip and cook the other side. Hint: if you don't want a really runny egg, cook for an extra minute or two on each side.
9) Remove from heat and let rest for about a minute. You can slice it or eat it as is. Use your hands or a fork and knife. Any way, it's pure yumminess!!!
And my son LOVES when I make this for myself because he gets the cutout grilled cheese part:)
EXTRAS...I have also added extras to this sandwich, depending on my mood.
1) I like adding a thin slice of tomato to each slice of bread right after putting the cheese on.
2) Sliced grilled zucchini is also really good added when the cheese is added.
3) Caramelize about 2 TBS of chopped onion and use that butter to cook the bread and put the onion on when you add the cheese.
4) If you want meat, you can add bacon (turkey or pork), ham (turkey or pork), or even some thin sliced steak. I don't eat red meat and only eat other meat once every couple of weeks, so I actually add "fried" tofu sometimes!
Be creative and make it your own.
I give you:
THE EGGSPLOSION GRILLED CHEESE
What you will need:2 pieces of sandwich bread (I only use wheat or multigrain, but any kind is fine)
2 eggs
1 1/2 TBS butter or margarine
3 oz shredded cheese (or 3 slices of cheese)
Salt for seasoning
Chili powder (optional, but I always use it)
Large mouthed shot glass or small jar lid
Spatula (the thinner, the better. A cookie spatula works best)
Flat top grill (which is what I use), nonstick pan, or cast iron pan
1) Start by heating your pan or flat top on low-medium heat for about 3 or 4 minutes.
2) While that is heating up, you can cut the centers out of each piece of bread with your "circle" of choice.
3) When the centers are cut out and your pan/flat top is heated, put 1 TBL of butter in it to melt, then add the slices of bread...and the cutouts for a special little treat:)
4) Let the bread get to a very light golden brown on the bottoms, then crack an egg in the center of each slice, then season with salt (and chili powder if desired!).
5) Let the egg cook just enough that you can easily pick up the slice of bread with your thin spatula without the egg falling out of the bottom. This will take about a minute and a half to two minutes depending on the heat.
6) Once ready, very carefully flip the slices of bread over (including the little circle cutouts) being careful not to let the egg yolk fall too out of place!
7) Add the cheese to the top of all the bread. If using slices, add 1 slice to each slice of bread and half of the third slice to each circle cutout. If using shredded, 1 oz per slice of bread, and a half oz per cutout.
8) Once the bread has browned slightly and the egg is just barely cooked enough that you can slide the spatula under it (about two minutes at the most), put one slice of bread on top of the other, cheese sides together (and don't forget those cutouts). Cook the sandwich for a minute or two, then flip and cook the other side. Hint: if you don't want a really runny egg, cook for an extra minute or two on each side.
9) Remove from heat and let rest for about a minute. You can slice it or eat it as is. Use your hands or a fork and knife. Any way, it's pure yumminess!!!
And my son LOVES when I make this for myself because he gets the cutout grilled cheese part:)
EXTRAS...I have also added extras to this sandwich, depending on my mood.
1) I like adding a thin slice of tomato to each slice of bread right after putting the cheese on.
2) Sliced grilled zucchini is also really good added when the cheese is added.
3) Caramelize about 2 TBS of chopped onion and use that butter to cook the bread and put the onion on when you add the cheese.
4) If you want meat, you can add bacon (turkey or pork), ham (turkey or pork), or even some thin sliced steak. I don't eat red meat and only eat other meat once every couple of weeks, so I actually add "fried" tofu sometimes!
Be creative and make it your own.
Subscribe to:
Posts (Atom)